Back to Schooner Mahdee Planking

Click a picture to see a larger view.
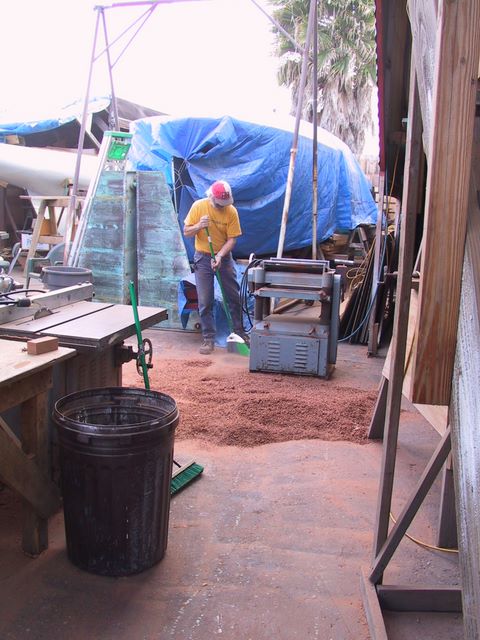

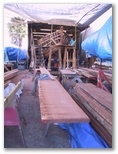
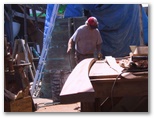
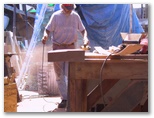
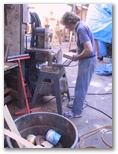
Planking entails making lots of sawdust! Here, to the left, John sweeps up after using the planer to bring the 2" thick Sapele down to a thickness closer to the finished 1 3/8".

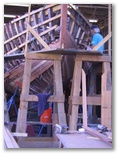
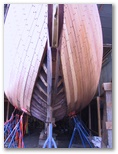
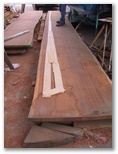
To the right, you can one of the large sapele boards that has had one plank taken from it; to the far right, the partially planked Mahdee.

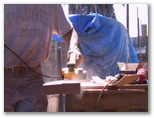
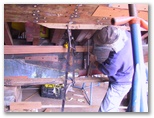
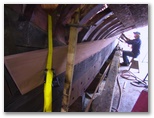
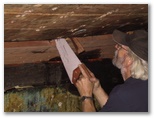
Below left, David and John work with hand planers on individual planks they are shaping. Below center are three pics of John starting at one end of a plank and planing to the other.


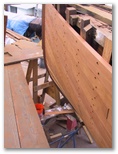
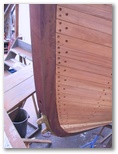
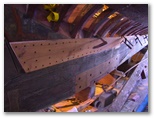
To the left are some pics of Mahdee's bow as she is planked up. In the second pic we can see the shearstrake is still off. It will remain off until the deck beams are completed; the right picture shows us the plank ends as they tie into the rabbet at the new purpleheart stem. It hasn't yet been shaped completely, though. The far right shows us the curve of her planks as they come into the stem on the port side


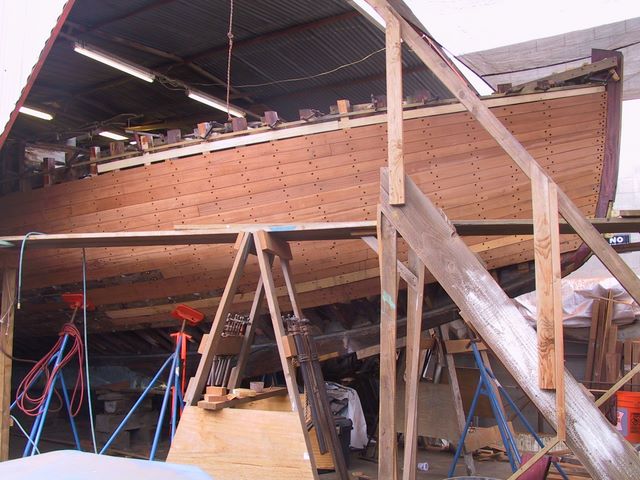
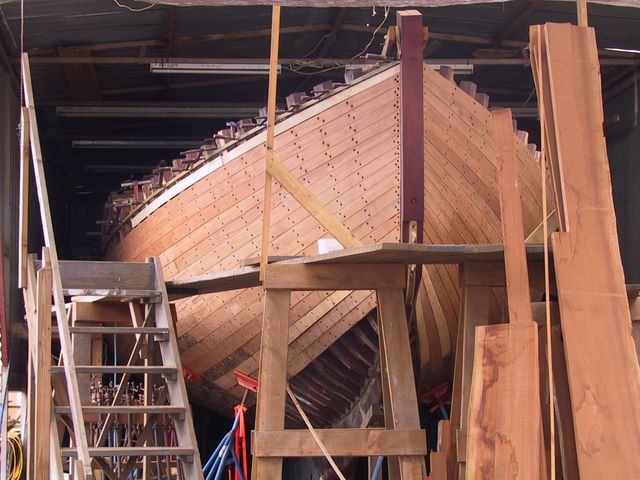
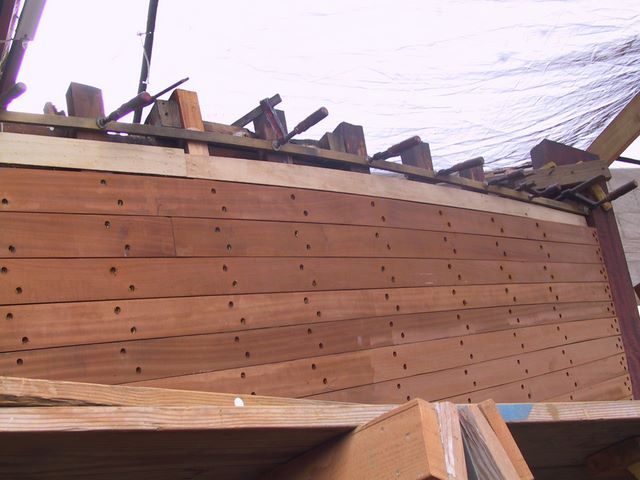
Here, we have several pics of Mahdee's planking.

Above, is the starboard side with a spiling batten just below the shear;

above right is a pic taken at the same time showing the stem;

at the right, you can see a closer image of the upper starboard side.

Below, to the left are some pics of Mahdee's bow as she is planked up. The far left shows her planking as we are getting ready to move her to SDBM; the second is a shot from the port side where we can see the shearstrake is still off. It will remain off until the deck beams are completed; the right picture shows us the plank ends as they tie into the rabbet at Mahdee's new purpleheart stem. It hasn't yet been shaped completely, though.

Mahdee is beginning to look much
more "finished" with so much planking in place.


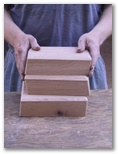
Below, David making and installing white oak butt blocks. Each block is different to match the angles between the frames and planking. They are also slightly curved to match the planking. The blocks are cut to sit parallel to the frames with a small airspace on each side and they are slightly thinner than the 2 3/4" frames to allow air circulation between the block and the boat ceiling (the interior wall). David sort of clims the inside wall of the boat as he wedges a block in place. He will then go outside the boat to pre-drill and then fasten the block with 2 1/2" long No. 16 silicon bronze wood screws. The planking fasteners are 3" No. 16 with square drive, but we were unable to find square drives in the slightly shorter length needed for the butt blocks.


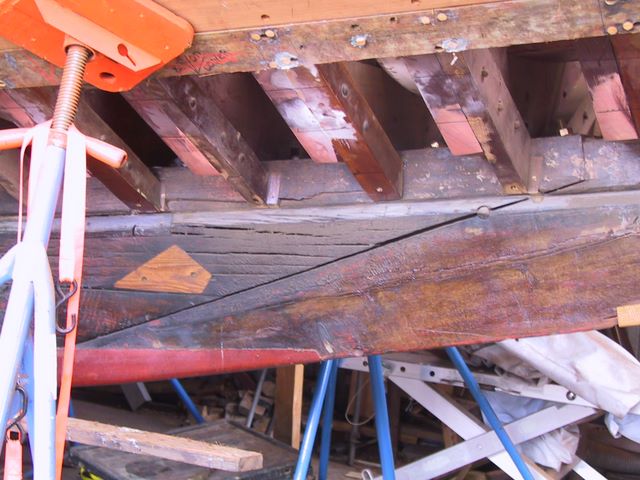
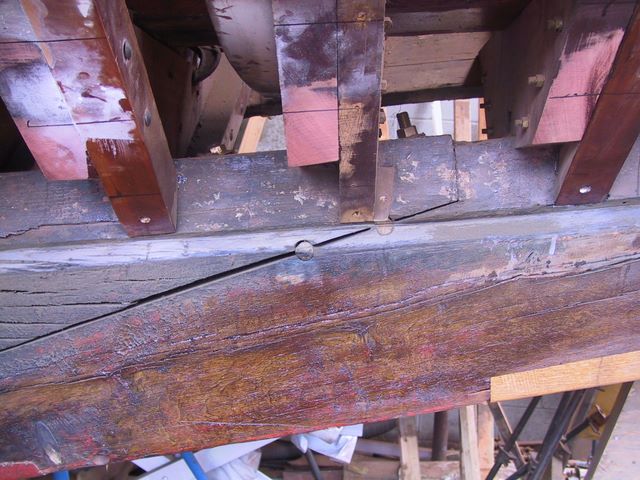
Below, there are numerous small repairs to the forekeel. There is a new purpleheart wormshoe that overlaps the joint between the forekeel and the keel (left). The joint itself is interesting in that it shows us both an inner and outer stopwate. The inner one is located at the apex of the rabbet where expected. The outer one is located right at the outside edge of the rabbet. Bud Mackintosh mentions these outer stopwaters as a typical "Sam Crocker" detail of construction. The rabbet is cleaned up and new stopwaters installed as part of the planking project. The ends of the floors have been faired into the line of the planking--the new wood is bright pink. The rest of the wood is darker because of the "boat sauce" mixture of pine tar, boiled linseed oil, and turpentine that is painted onto it to keep it from drying out.


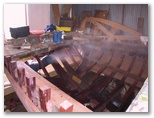
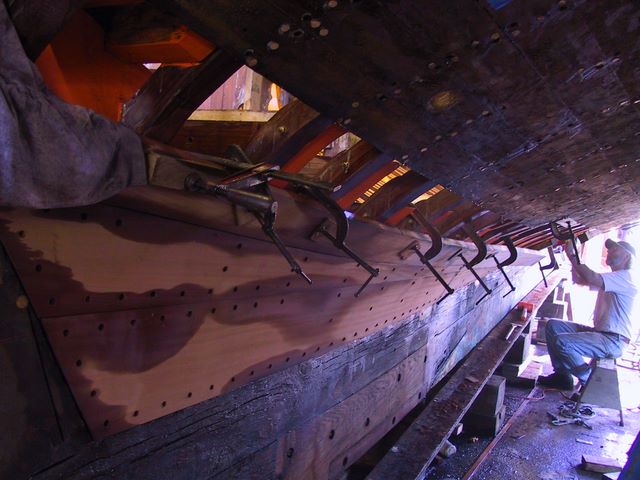
After most of the planking above the field of existing planking was completed, John moved to the garboard and associated stealers. The garboard was laid out on a 27.25' long Sapele board. Then, it was fitted to the boat. The laying out and fitting of the starboard garboard took more than a day. After it was clamped tightly in place overnight, John removed it, placed bedding compound on the deadwood behind it and fastened it into place. After everything was done and it only had a tiny way to go to be completely tight against the deadwood, it cracked. We were all disappointed but not really taken by surprise as the wood was very dry and we had not sufficiently soaked it with water. Looking forward to another two days of work on a single plank, John went back to the huge sapele board and cut another garboard. This time we used lots of water: from our greenhouse fogger above the boat (see below left) to buckets and rags of water wicking onto the planking. John left both port and starboard garboards and stealer soaking in water for an extra day to ensure that no cracking would happen. In the end, the planking did not crack.


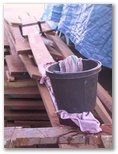
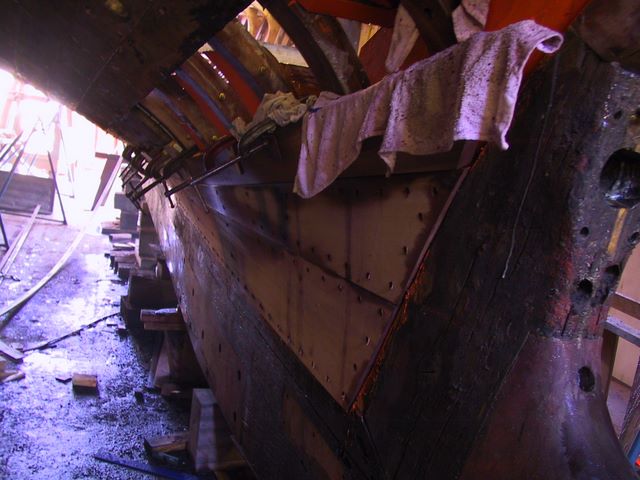
Above, port side garboard and stealers. Wet rags act as a wick from a bucket sitting up inside the boat on top the deadwood.Above, starboard side garboard and stealers. In the background, John works on clamping a plank. John's comment was that all the fog dropping down under the boat from above reminded him of working on the beach on a fishing boat in Canada--the only thing missing was the smell of decaying fish and kelp.

Back to Schooner Mahdee Planking

Click a picture to see a larger view.